Your roof is one of your most valuable properties, so you want to keep it in good condition. A roof inspection is a great approach to make sure you are aware of the state of your roof and to determine what needs to be done to address any potential issues. Before you schedule your roof inspection, make sure that you have everything ready so that the inspector can inspect with ease.
Table of Contents
Get Your First Report
Obtaining an initial report is the first step in preparing for your roof inspection. This report will assist you in understanding the state of your roof and what has to be done to correct any issues. The inspector will examine the age of your roof, the type of shingles you have, the state of your gutters, and other factors. Once you receive this information, you may begin arranging necessary repairs and replacements.
Schedule Inspection
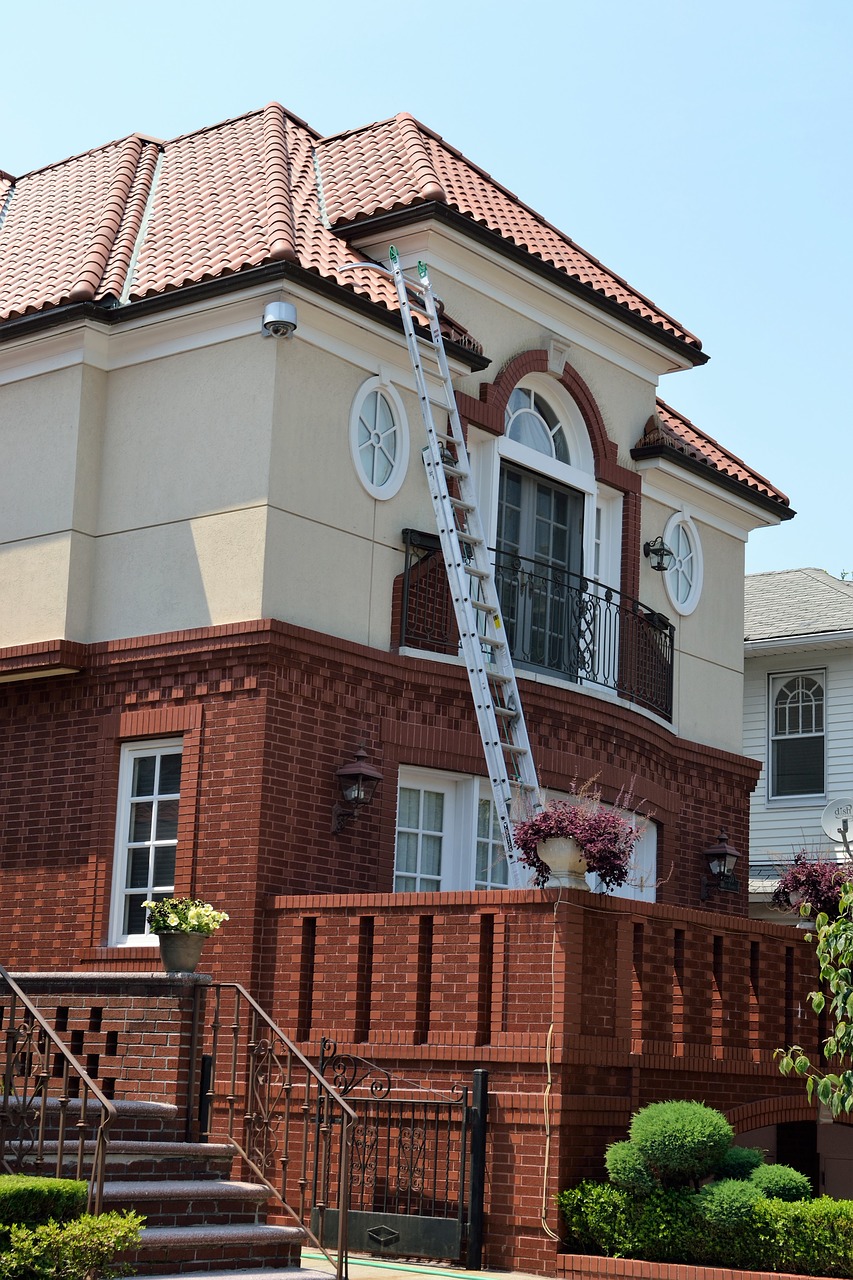
Once you have your initial report, the next step is to schedule an inspection with a qualified roofing contractor. It’s important to choose a contractor who is experienced and who has a good reputation. Make sure that you get quotes from several contractors before making your final decision. During the Inspection when the inspector arrives, they will conduct a thorough examination of your roof. They will look for any signs of damage, such as missing shingles, leaks, or rot. They will look for areas that need repair or replacement. After the inspection is complete, you will receive a report that details what was found and what needs to be done to fix any problems.
What to Look for When Inspection
Make sure to request an initial assessment from the inspector so you can obtain an idea of the state of your roof before scheduling repairs or replacements. The inspector should search for any signs of deterioration, such as missing shingles, leaks, or decay, and determine whether any sections require repair or replacement. After the inspection, you will be given a report outlining what was discovered and what has to be done next.
Investigate Your Attic
The next step is to examine your attic once you have received your initial report and scheduled your inspection. This is significant since the state of your attic can impact the state of your roof. Examine the area for any evidence of leaks, mould, or damage. If you discover anything that needs to be repaired, make a repair appointment as soon as possible.
Early Detection of a Roof Leak: One of the most important things you can do to prepare for your roof inspection is to find early signs of a roof leak. If you catch a leak early, you can often fix it before it becomes a bigger problem. Here are some signs to look for:
Water stains on the ceiling: If you see any water stains on your ceiling, there is probably a roof leak.
Mold or mildew: Another sign of a leaking roof is mold or mildew growing in your attic or on your walls. – Musty smell: A musty smell in your home could also show a leaking roof.
Damaged shingles: Inspect your shingles regularly for any damage, such as cracks or missing pieces. If you notice any damage, it’s important to have it repaired as soon as possible to prevent further leaks.